Set Up a Solana Wallet for DeFi Trading 2026
— By Tony Rabbit in Tutorials

How to set up a Solana wallet for DeFi trading: pick a wallet, back it up, fund it, connect to apps, and avoid the main beginner mistakes in 2026.
Setting up a Solana wallet for DeFi trading is one of the first real decisions a new on-chain trader makes. The wallet is not just where your assets sit. It is the tool you use to connect to DEXs, approve swaps, manage risk, and move capital across the Solana ecosystem without relying on a centralized exchange every time.
This guide is built around the broad beginner intent behind how to set up a Solana wallet for DeFi trading. The goal is not only to install an app. It is to choose the right wallet, back it up properly, fund it with enough SOL for fees, connect it to DeFi apps safely, and avoid the sloppy first mistakes that cost beginners time and money.
Quick answer
- Pick a credible Solana wallet first. For most beginners, Phantom is the easiest default, while Solflare and Backpack can make more sense for certain workflows.
- Back up the recovery phrase before funding the wallet with anything meaningful.
- Keep a small SOL fee buffer, connect only to trusted apps, and test with small amounts before treating any DeFi flow as routine.
Step 1: Choose the Right Solana Wallet for Your Style
Not every Solana wallet is built for the same kind of user. Some make the first-time setup feel smoother. Others feel better once the user is trading more actively, managing multiple accounts, or caring more about power-user organization. The mistake beginners make is treating every wallet like the same product with a different logo. It is not.
For most people, the practical choice comes down to three names: Phantom, Solflare, and Backpack. All three are credible options, but they feel different in real use.
Fast wallet decision map
| Wallet | Best fit | Why people like it | Watch out for |
|---|---|---|---|
| Phantom | First-time Solana users | Easy setup, strong app support, familiar UX | Beginners can get overconfident and sign too casually |
| Solflare | Users who want a wallet-focused flow | Clean Solana-native experience and staking friendly setup | Still requires the same self-custody discipline as any other wallet |
| Backpack | More advanced or organized traders | Good account separation and power-user feel | May be more than a beginner actually needs on day one |
If you want a dedicated brand-specific walkthrough, DEXTools already has separate tutorials for Phantom Wallet, Solflare Wallet, and Backpack Wallet. This page is the broader setup guide for users who first need to understand the Solana DeFi workflow itself.
Step 2: Install Only From Official Sources
Wallet setup starts before the recovery phrase. The first real security decision is the source of the install. Fake wallet sites, copycat browser extensions, and bad links still catch users who move too quickly and assume the first result must be real.
The safest habit is still boring and effective. Go directly to the official site, double-check the domain, and install from the official extension or app-store route. If something looks slightly off, stop there. A fake wallet with a clean UI is still a fake wallet.
Step 3: Create the Wallet and Back Up the Recovery Phrase Properly
Once the app or extension is installed, you either create a new wallet or import an existing one. For a true beginner, a fresh wallet is usually easier to reason about because it avoids bringing old mistakes and old habits into the new setup.
What matters most is the backup. Your recovery phrase is the real recovery layer. If the device is lost, wiped, or broken, the phrase is what restores access. If that backup is sloppy, then the wallet is not actually under control yet no matter how polished the interface looks.
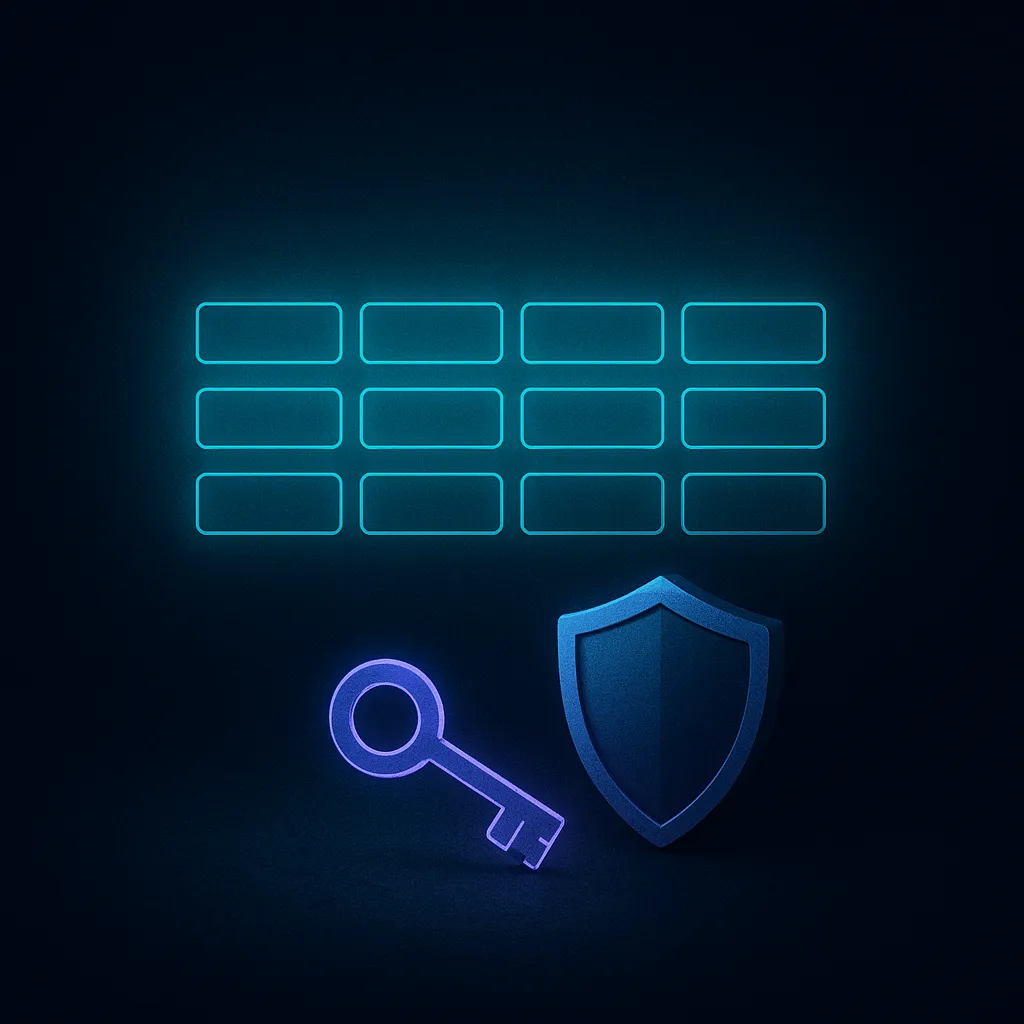
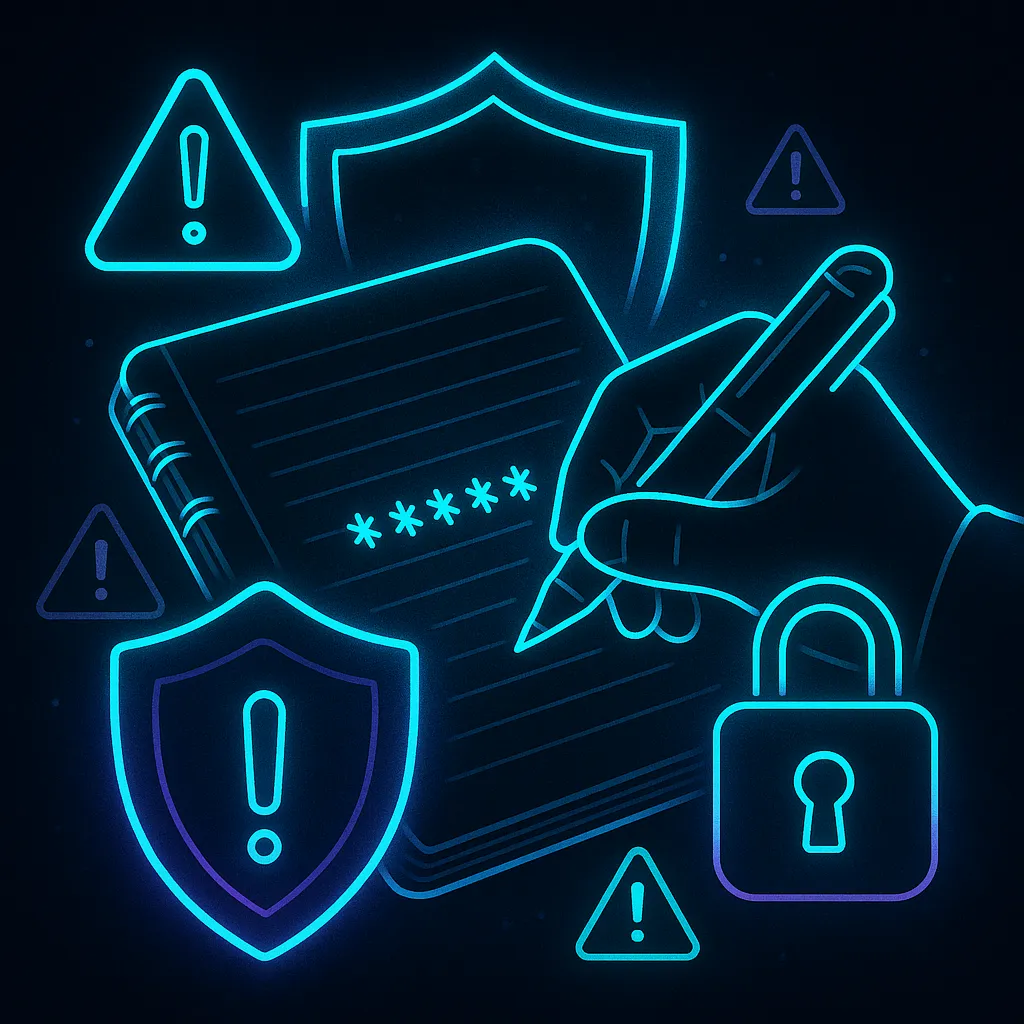
Recovery phrase checklist
If you need the broader security background, read What Is a Seed Phrase: The Ultimate Crypto Security Guide. It covers the recovery model in more depth.
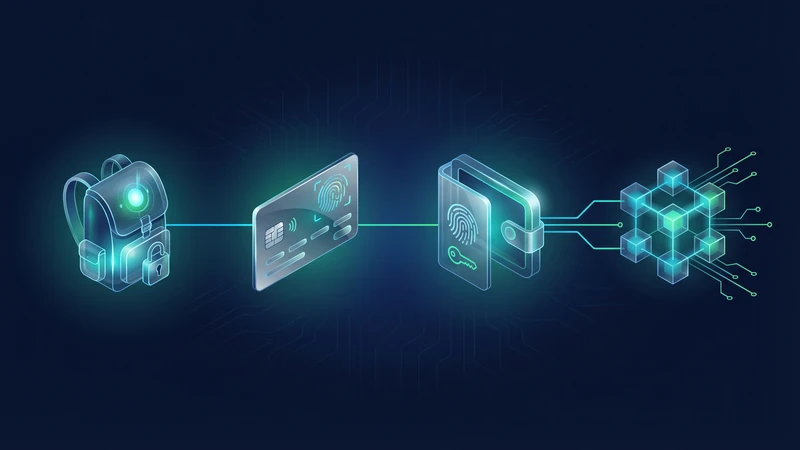
Step 4: Fund the Wallet and Keep Enough SOL for Fees
A Solana DeFi wallet is not ready just because it exists. It needs enough native SOL to pay transaction fees. That fee requirement is small compared with Ethereum, but it still matters. A user with tokens and no SOL balance quickly discovers that a wallet can look funded while being unable to do anything useful.
The cleanest first funding flow is simple. Copy the receive address directly from the wallet, send a small test amount first if the route is new, then keep enough SOL in the wallet so you are not constantly running into low-balance friction while trying to swap, stake, or move tokens.
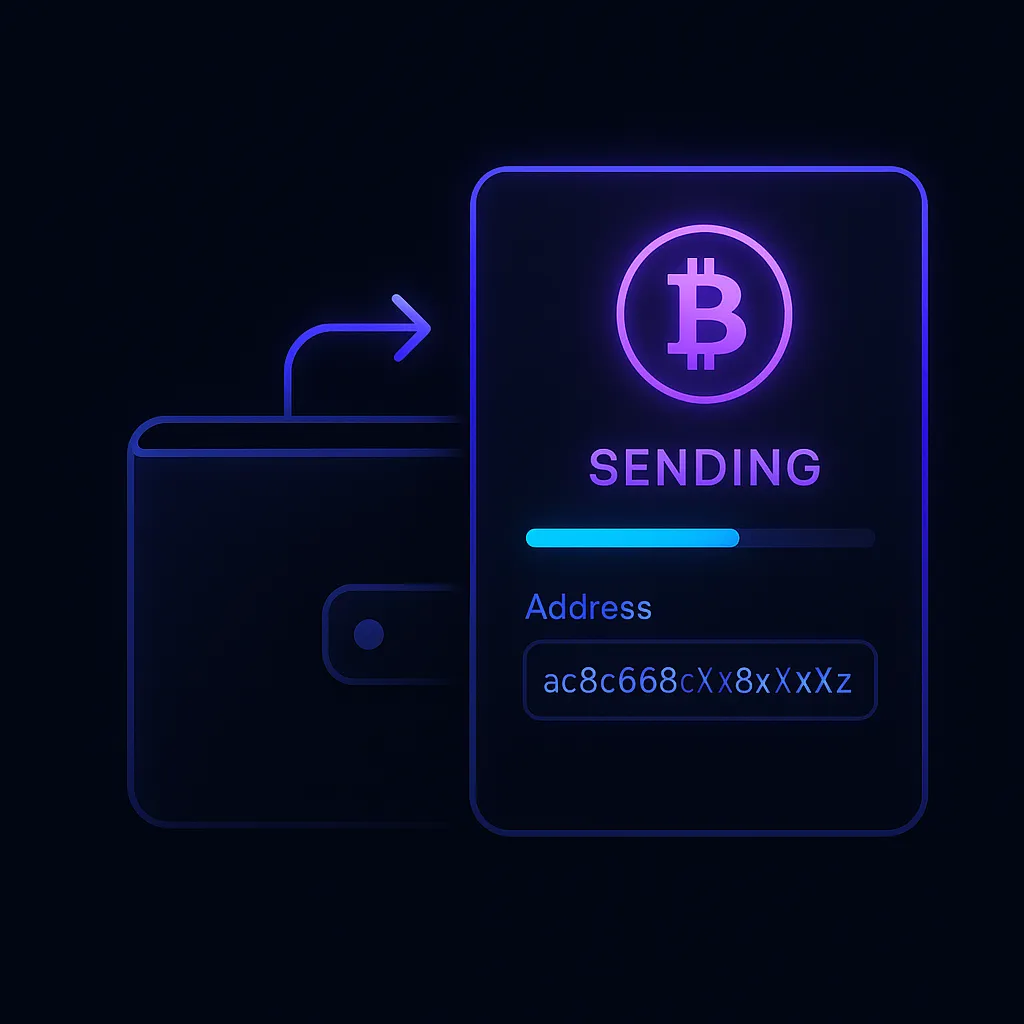
First funding flow
For broader transfer discipline, see How to Transfer Crypto Between Wallets: Complete Safety Guide.
Step 5: Connect the Wallet to Solana DeFi Apps Carefully
This is the step where the wallet becomes useful for DeFi. Once funded, you can connect it to apps like Jupiter, Raydium, Kamino, Meteora, and many other Solana tools. But this is also where the risk profile changes. The problem is no longer only wallet backup. It is what you sign and where you connect.
Wallet prompts are not decorative pop-ups. They are the approval layer for access and transactions. If you do not understand what a signature or transaction is doing, stop before approving it. That is especially important for new users who are excited to trade and move too quickly once the wallet finally has funds inside it.
Before connecting to any Solana app
If you want practical next steps after setup, DEXTools already has live walkthroughs for Kamino Finance, Jumper Exchange, and broader token discovery guides like How to Find New Crypto Tokens Before They Pump.
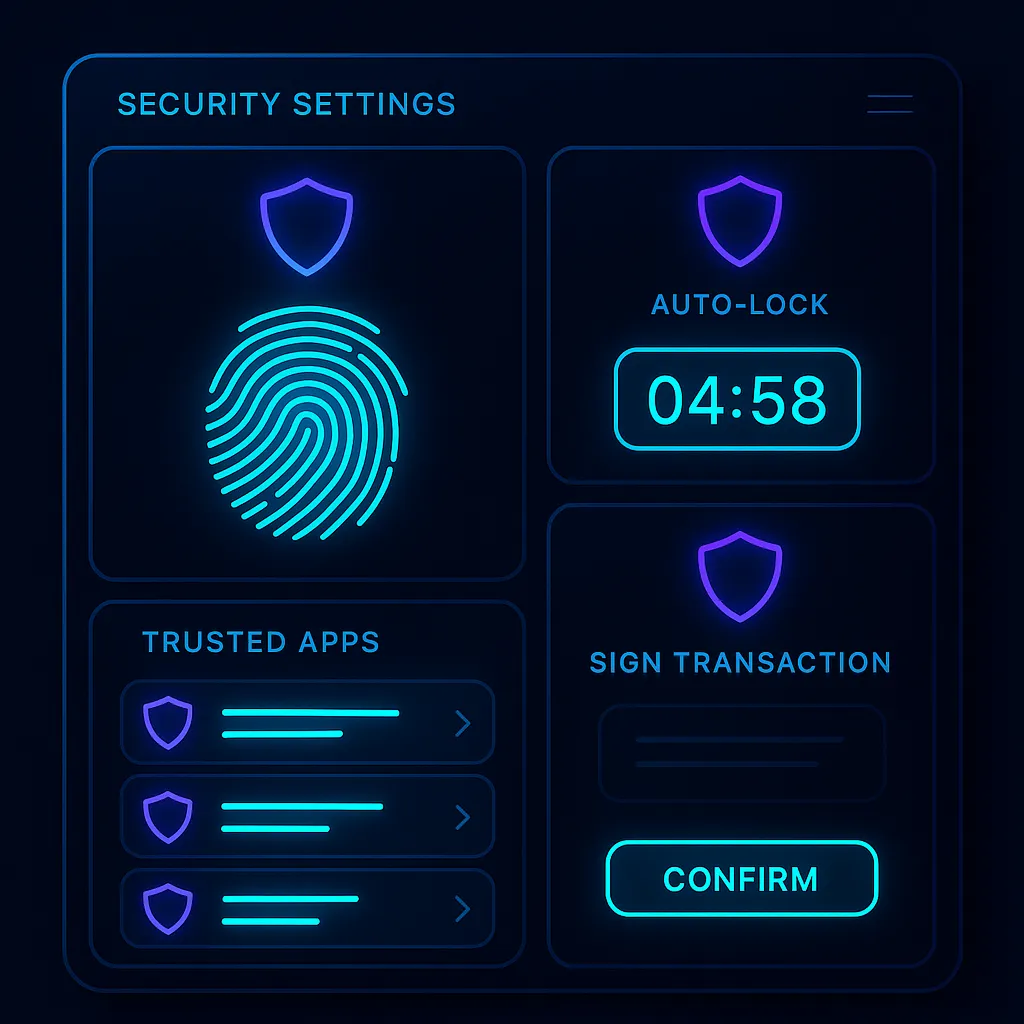
Step 6: Treat Security Settings as Part of the Setup, Not a Later Task
Beginners often think wallet security starts after they become active traders. That is backwards. Security is part of the setup itself. Auto-lock, biometric protection on mobile, trusted app review, and careful signing habits should all be thought through before the wallet becomes crowded with tokens, NFTs, and frequent connections.
Solana moves fast. That speed is great when everything is going well, but it also means bad approvals and rushed mistakes happen quickly. The best defense is not panic after the fact. It is building a calmer, more deliberate setup before the account becomes busy.
Common Solana Wallet Mistakes Beginners Make
Helpful next reads on DEXTools
Frequently Asked Questions
What is the best Solana wallet for DeFi trading?
For many beginners, Phantom is still the easiest starting point. Solflare and Backpack can also be strong choices depending on whether you want a more classic wallet flow or a more advanced setup.
How much SOL should I keep in the wallet for trading fees?
The fee requirement is usually small, but keep enough SOL that you are not constantly blocked by low balance while swapping, sending, or interacting with apps. Think in terms of keeping a healthy buffer, not hitting exact zero.
Should I use a mobile wallet or browser extension?
Either can work. Many traders prefer a browser extension for desktop DeFi use, while mobile is convenient for monitoring and lighter actions. The important part is understanding the workflow and securing the device you actually use.
Is one wallet enough for all Solana DeFi activity?
For some beginners, yes. More active users often end up separating a main wallet, a smaller risk wallet, and sometimes a testing wallet so one mistake does not expose everything.
What should I do right after setting up the wallet?
Back up the recovery phrase, fund the wallet with a small test amount, keep a SOL fee buffer, and only then start connecting to the apps you actually trust and intend to use.
Related reading
Disclaimer: This article is for educational purposes only and does not constitute investment, tax, or legal advice. Wallet interfaces, supported tokens, app permissions, and network behavior can change over time. Always verify the live wallet and app screens before making important transactions.
Related Guides
- How to Set Up Trezor Hardware Wallet: Safe 3 and Safe 5 Tutorial (2026)
- How to Set Up Tangem Wallet in 2026
- How to Set Stop-Loss and Take-Profit in Crypto: Entry, Risk and R:R Setup (2026)
- How to Use Backpack Exchange: Complete Solana Trading Tutorial (2026)
- How to Use Kamino Finance: Solana DeFi Tutorial (2026)