Jumper Exchange Tutorial 2026: Cross-Chain Bridge Master
— By Tony Rabbit in Tutorials

Learn how to use Jumper Exchange in 2026, from comparing bridge routes and swap outputs to checking fees, approvals, and destination-chain visibility before you move funds.
Jumper Exchange solves a real problem for users who are tired of hopping between tools just to figure out how to move value from one chain to another. That is the appeal. The danger is that aggregators can create a false feeling of safety. When an interface compares routes for you, it becomes tempting to stop thinking critically and just press the prettiest button on the page.
That is the wrong way to use Jumper. The right way is to treat route comparison as the core product. You are not there merely to send a transaction. You are there to review options, choose the output you actually want, and confirm that the route makes sense for your wallet, your chain pair, and your size.
Where this page fits This page is the Jumper-specific workflow. Need the broader bridge guide first? Read How to Bridge Crypto Between Chains. Need product comparison first? Use Top 5 Crypto Bridge Tools.
Quick answer
- Use Jumper to compare routes, bridges, and output quality, not just to click faster.
- Double-check the destination chain, destination token, and total cost before signing.
- Keep wallet access and gas ready on both sides so you can verify the outcome properly.

What Jumper Exchange Is Best Used For
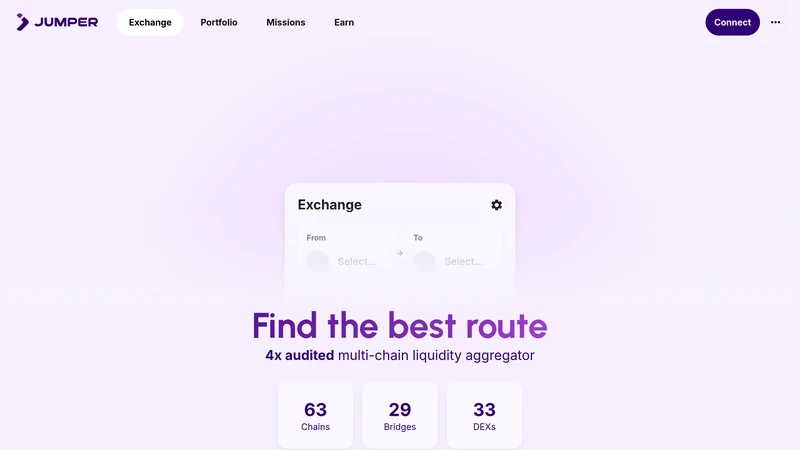
Jumper is best used as a route discovery and execution layer for users who want one interface across many chains, bridges, and DEXs. The product positioning makes that clear. It is not trying to be just another single-chain swap screen. It is trying to help you find the best route through a messy cross-chain market.
That matters because route quality is not abstract. It affects final output, time to settlement, fee drag, and user confidence. If you are bridging between chains often, Jumper can save time. If you are doing it carelessly, it can also help you make the wrong decision faster. Aggregation improves access, not judgment.
When Jumper is a strong fit
What to Prepare Before Bridging
The safest Jumper session starts with specificity. Know what token you are sending, what chain you are sending from, what token you want to receive, and where that output must land. Then make sure the connected wallet actually matches that plan. Approvals, gas, and destination visibility still matter here, even if the interface makes the route feel clean and modern.
The key decisions to review on Jumper
How to Use Jumper Exchange Step by Step
Connect the wallet holding the source asset and enter the route intentionally. Pick the source chain, source token, destination chain, and destination token. Then stop and review the options Jumper shows you. The whole point of using an aggregator is that you can compare path quality before signing. If you ignore that comparison step, you are leaving the main value of the product on the table.
Once the route looks right, handle the approval if needed and confirm the transaction. After that, stay patient. Cross-chain flows can include multiple underlying actions even when the front-end experience feels seamless. Keep the destination chain selected, monitor the result, and only mark the job as done when the output token is actually there and usable.
A cleaner Jumper workflow
Common Jumper Mistakes to Avoid
The biggest Jumper mistakes are user mistakes, not product mistakes. People assume that a route engine can substitute for thinking. They pick the first option, ignore the exact destination token, or forget that the destination chain still needs to be checked after execution. That is how a good tool gets blamed for a lazy workflow.
Mistakes that turn route convenience into route confusion
How to Troubleshoot a Jumper Route That Feels Off
Start by separating route delay from route failure. Check whether the source transaction confirmed, whether the destination chain is selected in your wallet, and whether you are looking for the correct output token. A lot of user anxiety comes from expecting the destination side to update instantly and then assuming the bridge is broken when the wallet has not refreshed yet.
If the result still looks wrong, go back to the route details and transaction hash. That will help you distinguish between a display issue, a slower-than-expected bridge leg, and a genuine route mismatch. Calm review is the whole game here. Jumper helps you route more intelligently, but it still expects you to read what it is showing you.
Keep exploring
Frequently Asked Questions
What is Jumper Exchange best for?
It is best for users who want to compare and execute cross-chain routes from one interface instead of manually checking multiple bridges and swap tools.
Is Jumper better than using one bridge directly?
It can be, especially when route comparison matters. The value is in seeing options and choosing intentionally instead of assuming one bridge is always best.
What should I check before confirming a Jumper route?
Check the source chain, destination chain, output token, and total route quality together before signing.
Why does a cross-chain route sometimes feel slow even when the source transaction confirmed?
Because the destination side can take extra time to finalize or display correctly. Source confirmation is not the same as final usable output.
What is the safest way to use Jumper for the first time?
Use a small amount, compare route options carefully, and verify the destination token and chain before repeating with more size.
Related reading
Disclaimer: This article is for educational purposes only and not financial, legal, or tax advice. Route options, fees, and supported chains can change. Always review the live route carefully before moving funds.
Related Guides
- What Is Crypto Bridge Slippage? Why Cross-Chain Transfers Drift (2026)
- Top 5 Crypto Bridge Tools in 2026: Best Cross-Chain Options Compared
- deBridge Tutorial 2026: DLN Cross-Chain Bridge Guide
- How to Use Across Bridge: Complete Cross-Chain Tutorial (2026)
- How to Bridge ETH to TRON: Complete Cross-Chain Guide (2026)