Transak Tutorial 2026: Fiat On-Ramp + API Integration
— By Tony Rabbit in Tutorials
Learn how to use Transak to buy crypto inside a wallet or dApp, pass KYC, compare payment methods, and avoid the most common onboarding mistakes in 2026.
Use Transak to buy crypto directly within a wallet or dApp, receiving assets on-chain. It functions as an onboarding bridge, allowing users to fund their wallets without first sending money to a centralized exchange. Convenience depends on country support, KYC, payment methods, limits, chain selection, and final wallet delivery.
Learning how to use Transak is really about learning how to buy crypto inside a wallet or dApp without getting sloppy on the final details. Instead of sending money to a centralized exchange first, you can often fund your wallet directly and receive the asset on-chain where you actually plan to use it.
That sounds convenient, and it is, but convenience still depends on country support, KYC timing, payment rails, limits, chain selection, and final wallet delivery. This guide walks through the full Transak flow in a cleaner, more intent-driven way for 2026 beginners.
Quick answer
- Use Transak when you want to buy crypto directly inside a wallet or dApp and receive it on-chain.
- It is strongest as an onboarding bridge, not as a replacement for full trading tools or exchange execution.
- Always verify country support, KYC status, payment method, network, and final amount received.
What Is Transak?
Transak is a fiat on-ramp and off-ramp provider built for web3 integrations. It appears inside wallets, NFT platforms, DeFi apps, and other crypto products that want to let users move between fiat and on-chain assets without forcing them into a separate exchange workflow first.
The core value is convenience. But convenience only helps if you make the right choices at checkout.
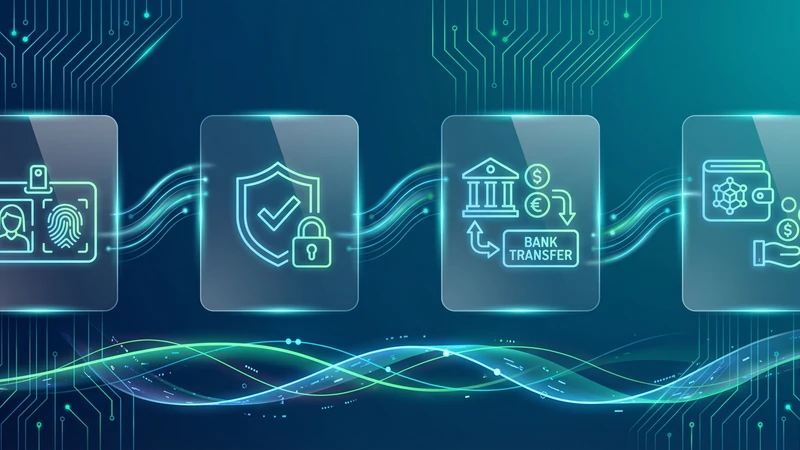
Transak onboarding flow at a glance
When Should You Use Transak?
Transak makes the most sense when you want to buy crypto directly into a self-custody wallet, fund an app-specific wallet, or reduce the friction of first-time onboarding. It is especially useful when the app you already trust has a direct Transak integration.
If your goal is advanced order execution, deep market access, or active trading, you will usually use Transak for funding first and then move to research and execution tools afterward.
What You Need Before You Start
- A supported wallet or partner app that integrates Transak
- A valid receiving address
- A payment method supported in your country
- A government-issued ID if KYC is required
If you still need a wallet setup guide, start with our MetaMask tutorial.
Step 1: Open the Checkout and Select the Right Chain
Inside a wallet or dApp, Transak usually appears behind a button like Buy, Add funds, or On-ramp. Once the checkout opens, you normally choose your country, fiat amount, crypto asset, and network.
The key point is simple: the network is not a secondary detail. It determines where the asset lands and what you can do with it afterward.
Step 2: Complete KYC Before You Need Speed
Transak uses KYC and AML controls as part of its compliance stack. Depending on your region, risk profile, and transaction size, you may need basic details, photo ID, a selfie or liveness check, or additional documents for higher limits.
Step 3: Compare Payment Methods, Limits, and Settlement Time
Transak supports different payment methods by region and integration. Cards are often fastest. Bank transfers can be attractive for size or cost. Local rails may be even better if they are available in your country.
Do not compare methods only by speed. Compare them by the final result: cost, settlement time, and probability of success with your bank.
Transak payment rail comparison
Step 4: Read the Quote Like a Pro
With Transak, the headline fee never tells the full story by itself. The real comparison is how much crypto you receive after all costs, limits, and spread are reflected in the live quote.
When Transak is the right tool
Step 5: Confirm Wallet Delivery Before Moving On
Once the transaction is approved, wait for the asset to reach the intended wallet and chain. After that, you can move into token research or swaps. A clean workflow looks like this:
Common Transak Mistakes to Avoid
- Choosing the wrong network for delivery
- Using an exchange deposit address without checking chain compatibility
- Ignoring KYC until the last second
- Comparing only visible fees instead of the final quote
- Assuming a supported country means every payment method is available
Transak vs MoonPay
Both solve a similar problem. The better option often depends on country coverage, payment methods, wallet integrations, and the quote you see at that exact moment. For most users, the best provider is the one that supports their region, works inside their trusted app, and gives the better final outcome.
Frequently Asked Questions
Does Transak require KYC?
Often yes. Requirements depend on region, transaction profile, limits, and compliance screening.
What payment methods does Transak support?
That depends on country and integration, but official Transak materials highlight cards, bank transfers, and local methods where available.
How long does a Transak purchase take?
That depends on your payment rail, verification status, and chain conditions. Some flows are fast, while bank transfers can take longer.
Can I buy directly into my wallet with Transak?
Yes. That is one of the main reasons it is commonly embedded inside wallets and dApps.
Is Transak better than a centralized exchange?
It is often better for convenience and direct wallet funding. Exchanges are still better for advanced execution and deeper trading functionality.
Related reading
Disclaimer: This article is for educational purposes only and does not constitute investment, tax, or legal advice. Transak availability, limits, payment methods, and pricing can change by region and over time. Always review the live quote and the destination network before confirming a transaction.
Related Guides
- Top 5 Ways to Cash Out Crypto to Fiat in 2026
- How to Sell ETH on MetaMask in 2026: Cash Out and Off-Ramp Guide
- What Is Moralis: Web3 APIs, Indexed Data and Backend Acceleration (2026)
- What Is Moralis Wallet API? Web3 Backend Guide (2026)
- What Is Infura: Web3 APIs, IPFS Access and MetaMask Infrastructure (2026)