How to Use MoonPay to Buy and Sell Crypto: Beginner Guide (2026)
— By Tony Rabbit in Tutorials
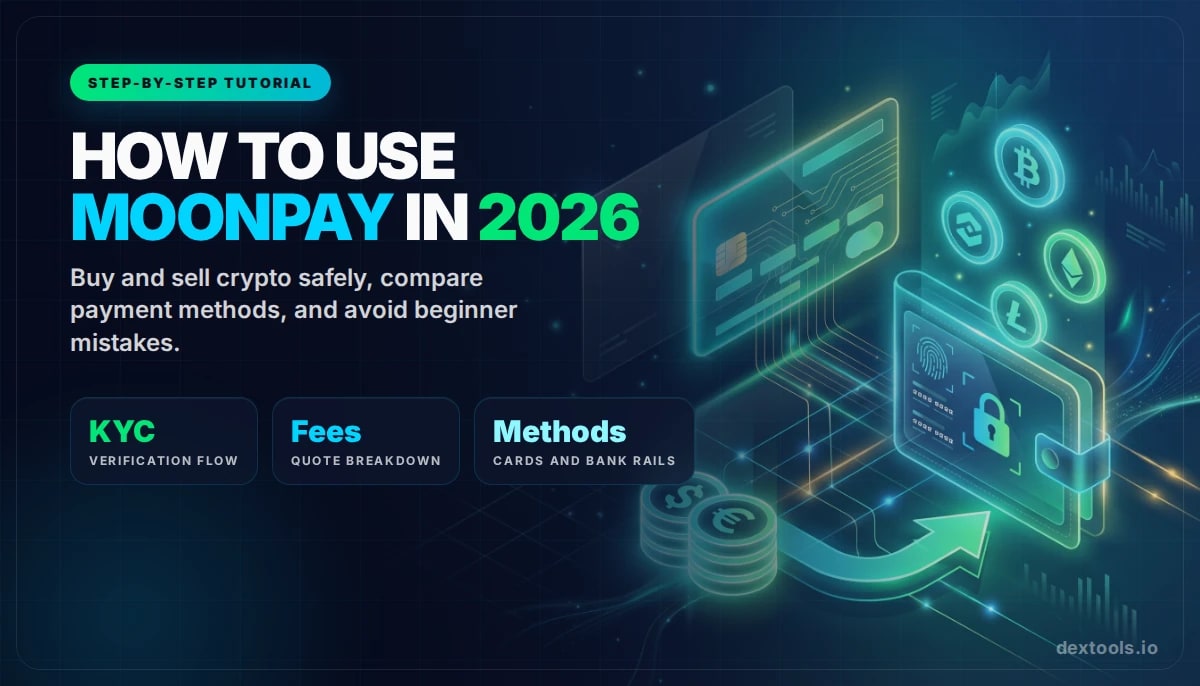
Learn how to use MoonPay to buy and sell crypto, complete KYC, compare payment methods, and avoid the most common wallet funding mistakes in 2026.
Learning how to use MoonPay is mostly about getting fiat into crypto without turning a simple wallet funding task into an avoidable mistake. Most users meet MoonPay inside a wallet, a dApp, or a partner checkout flow where the goal is straightforward: buy crypto, receive it in the right wallet, and move on.
This guide breaks the process into simple steps, then adds the parts beginners usually skip, like network selection, KYC timing, fee review, payment rail choice, and safe delivery checks.
Quick answer
- Use MoonPay when you want to buy or sell crypto directly from a wallet-connected flow without opening a full exchange account first.
- It is best for convenience and onboarding, not for advanced trading execution.
- Always check the final quote, wallet address, network, and payment method before you confirm.
What Is MoonPay and When Should You Use It?
MoonPay is a fiat bridge. It lets you buy or sell supported crypto using payment methods like cards, bank transfers, and selected local rails, depending on your region. The main benefit is speed of onboarding. Instead of wiring money to an exchange, waiting, trading, and then withdrawing, you can often buy directly into your own wallet.
That makes MoonPay useful for three common situations:
- You need to fund a self-custody wallet for the first time
- You want to buy a base asset like ETH, BTC, SOL, or USDC quickly
- You want a simpler checkout inside a wallet or dApp
MoonPay flow at a glance
What You Need Before You Start
- A trusted receiving wallet or destination address
- A supported payment method in your country
- A government-issued ID if verification is required
- A clear idea of which network you need
If you are new to self-custody, read our MetaMask beginner tutorial before funding anything.
Step 1: Choose the Right Asset and Network
This is where many beginners make their most expensive mistake. The asset name is only half the decision. The network matters just as much. USDC on Ethereum is not the same operationally as USDC on Solana, Base, or another chain.
Before you continue, confirm:
- The token you want to receive
- The exact wallet address
- The chain that wallet supports for that asset

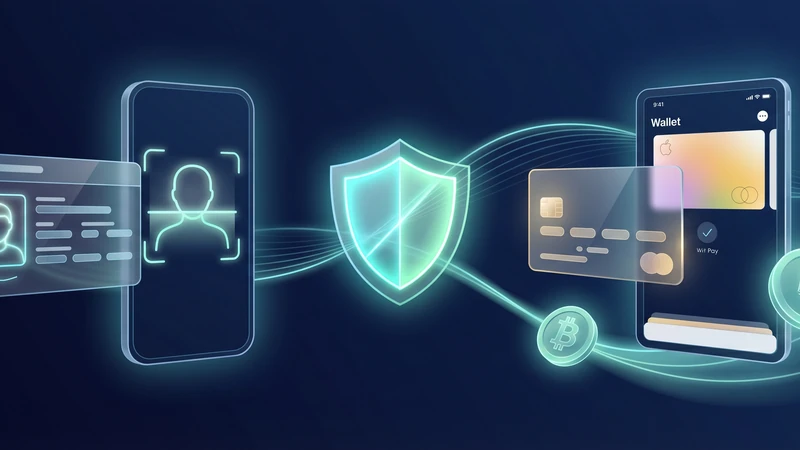
Step 2: Complete KYC Early, Not at the Last Minute
MoonPay may require identity verification depending on region, payment method, transaction size, and risk screening. That usually means personal details, a photo ID, and sometimes a selfie or liveness check.
Do this before you need funds urgently. Many users only discover KYC friction when they are already trying to catch a move, which is the worst time to troubleshoot compliance steps.
Step 3: Pick the Best Payment Method for Your Situation
MoonPay supports different payment rails by region. In general, cards and mobile wallet methods are faster, while bank transfers may be more efficient on cost but slower on settlement.
The right choice is not always the cheapest-looking one. It is the one that gives you the best final outcome for your size, urgency, and region.
MoonPay payment method comparison
Step 4: Understand Where the Cost Actually Comes From
Most users compare only the top-line fee and miss the real decision point: the final quote. What matters is how much crypto you receive after service fees, spread, network fees, and any bank-side friction are all included.
How to choose the best MoonPay path
Step 5: Confirm Delivery Before You Do Anything Else
After payment approval, wait for the asset to land in the correct wallet and on the correct chain. Do not rush into a swap until you have visually confirmed the balance and network.
If you are using the funds for token research or a DEX trade, a safe workflow looks like this:
Common MoonPay Mistakes to Avoid
- Choosing the correct token on the wrong network
- Sending to an exchange deposit address without checking chain compatibility
- Trying to finish KYC while under time pressure
- Comparing only the advertised fee instead of the final quote
- Using random ads or links instead of trusted wallet integrations and official flows
MoonPay vs a Traditional Exchange
MoonPay is for onboarding and off-ramping. A traditional exchange is better when you need order books, deep pair selection, advanced execution, and full account-based trading tools. Many users use both: MoonPay to get funds into a wallet, then analytics and execution tools to do the actual market work.
Frequently Asked Questions
Do I need KYC to use MoonPay?
In many cases, yes. Requirements depend on region, payment method, transaction size, and compliance screening.
What payment methods does MoonPay support?
That varies by region, but common options can include cards, bank transfers, mobile wallet methods, and selected local rails.
How long does a MoonPay transaction take?
It depends on the payment method, verification status, and chain conditions. Some transactions are fast, while bank transfer flows may take longer.
Is MoonPay cheaper than an exchange?
Not always. MoonPay usually wins on convenience. The right comparison is the final quote you receive versus your alternatives.
Can I buy directly into my own wallet?
Yes. That is one of MoonPay's main use cases, but you still need to double-check the address and network carefully.
Related reading
Disclaimer: This article is for educational purposes only and does not constitute investment, tax, or legal advice. MoonPay availability, pricing, limits, and supported payment methods can change over time and by region. Always review the live quote before confirming a transaction.
Related Guides
- Top 5 NFT Marketplaces in 2026: Where to Buy and Sell Digital Assets
- How to Use Coinbase in 2026: Complete Beginner Guide to Buy Sell and Trade Crypto
- How to Check Buy and Sell Tax Before Buying a Token (2026)
- Exit Liquidity Mapping: Who Might Sell Into You Before You Buy?
- What Is a Honeypot Token? Sell Traps Explained